Wednesday, December 26, 2012

A robe a l'anglaise--or en fourreau gown--a tutorial! Part Four, The Robings, Sleeves, and Finishing Touches

In Part Three, we got up to the sleeves. I'm not going to go into too much detail on the sleeves here, instead:

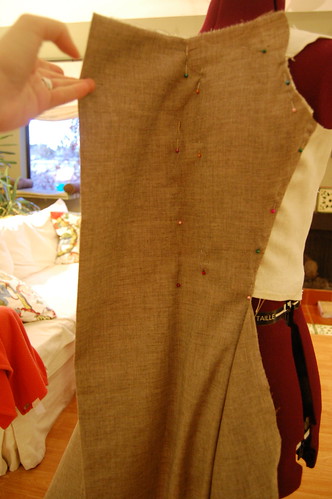
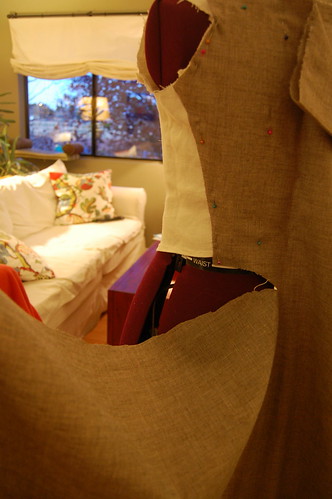
Here's my rather long sleeve tutorial!

Making a robe a l'anglaise 31 Making a robe a l'anglaise 32

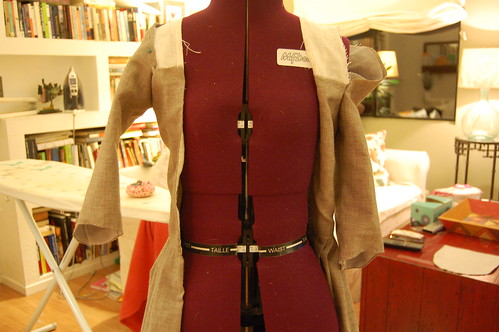
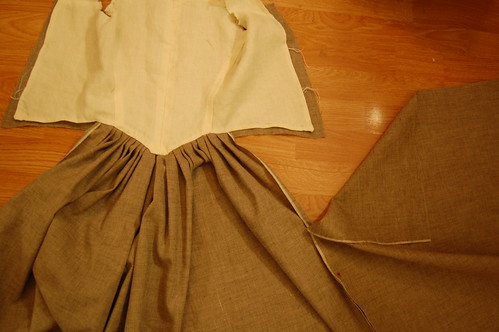
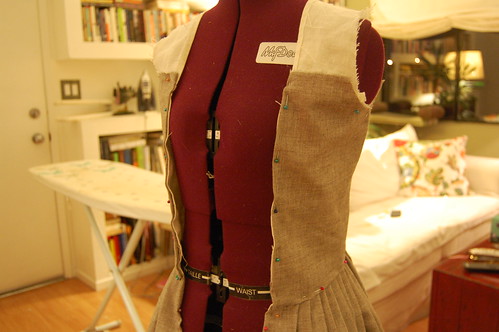
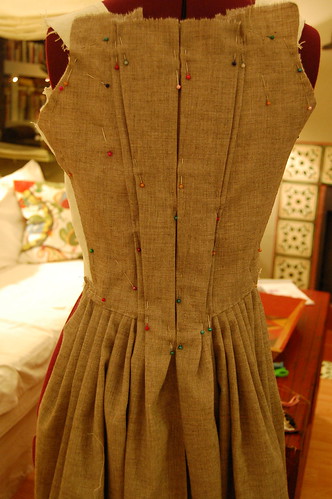
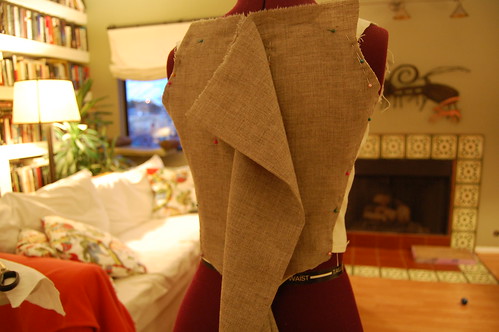
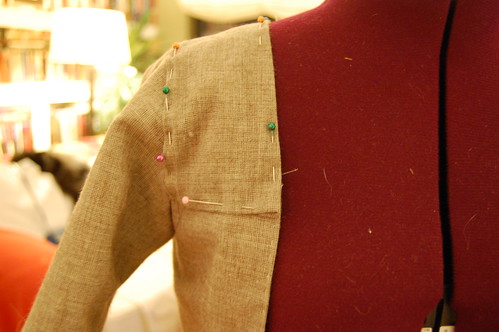
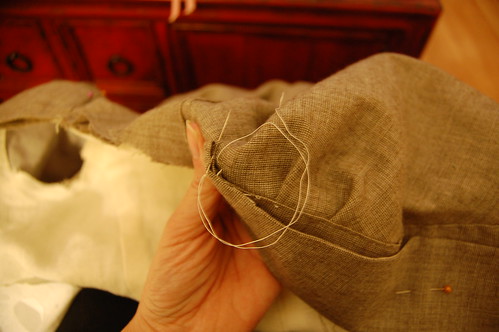
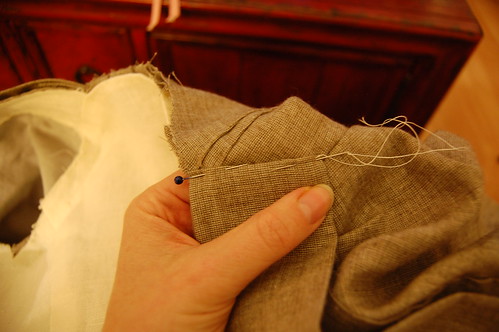
Here's the bodice with the sleeves half done. Long story short, sew the underarms from the corner to the top of the shoulder strap seam on the front, pleat the top to fit, sew top into place, neaten the inside, et voila, a sleeve! Explained much more in depth in the above linked tutorial, of course!

Making a robe a l'anglaise 33

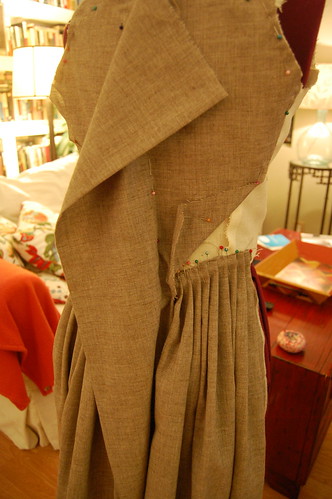
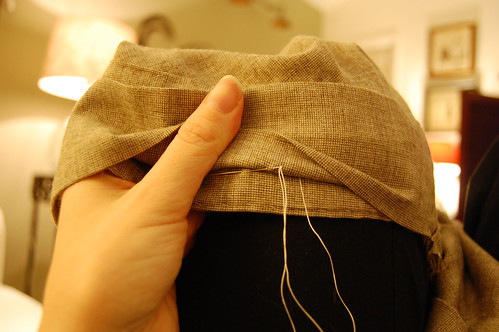
The next step is optional, and also explained more in depth in the sleeve tutorial. You can cover the exposed lining with robings, but I wanted narrower robings than would cover the strap, so covering the strap with fabric it was!

Making a robe a l'anglaise 34

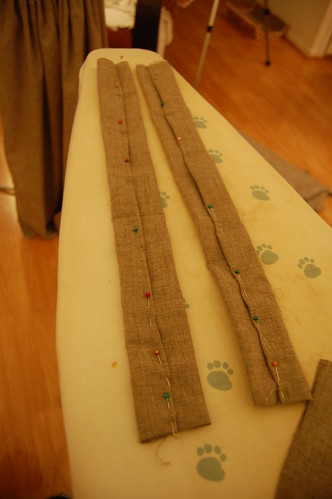
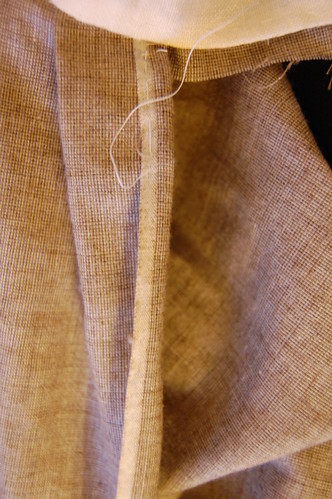
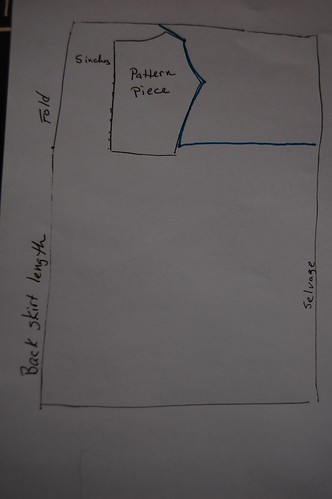
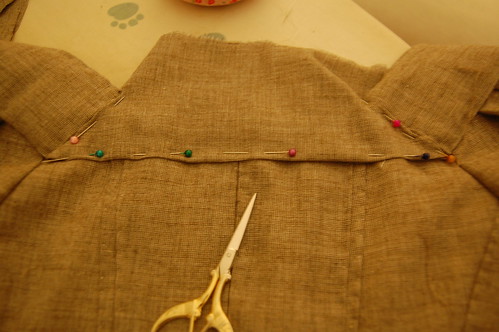
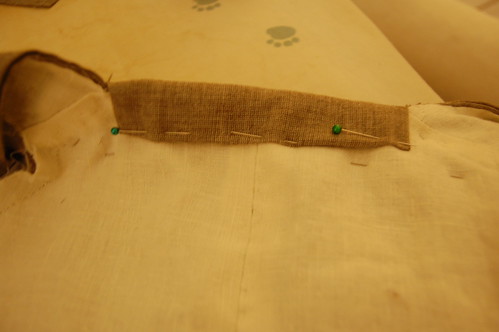
The robings themselves are quite easy. Make two tubes of fabric the width you want and slightly longer than the edge of the bodice bottom to the back shoulder strap seam. Sew it shut, and tuck the ends under one one end and hem it. This end will be the front. Leave the other end unhemmed.

Making a robe a l'anglaise 35 Making a robe a l'anglaise 36

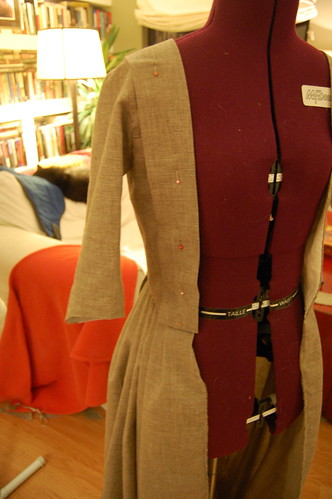
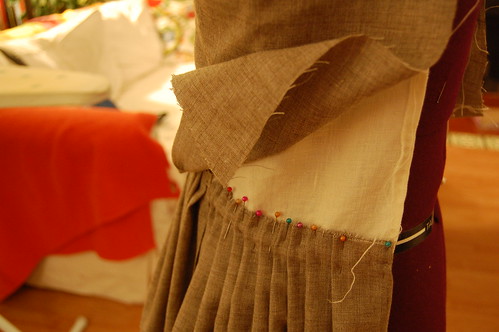
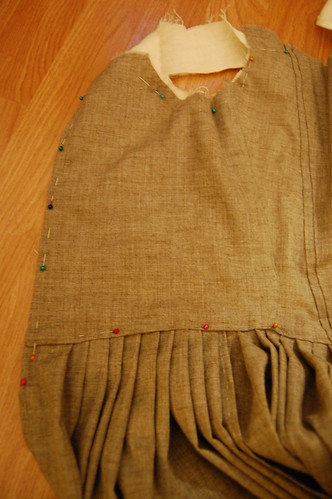
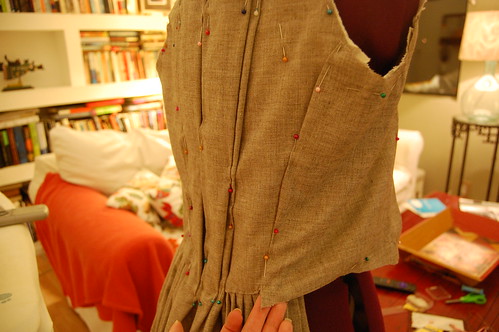
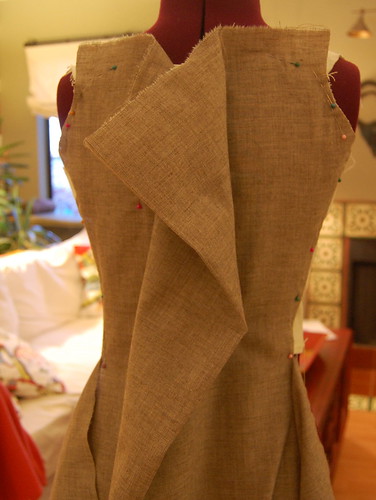
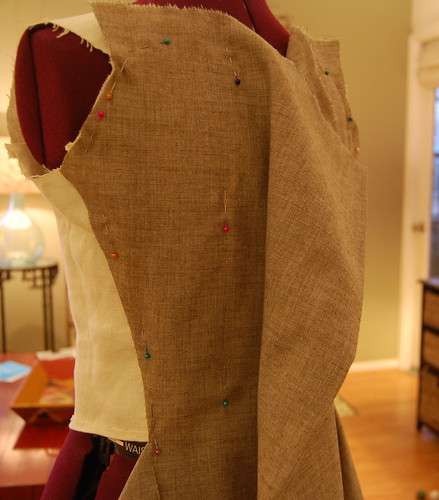
Starting at the front edge, pin the robing into place. I like to let it hang a little past the bodice edge. Keep pinning over the shoulder, and when you get to the back shoulder seam, tuck it underneath. And that's it! Well, as far as pinning it on, anyway :)

Making a robe a l'anglaise 37 Making a robe a l'anglaise 38

As far as sewing them on, I made this way up. I haven't seen an original, sadly, so can't confirm if this is right, but it looks good!

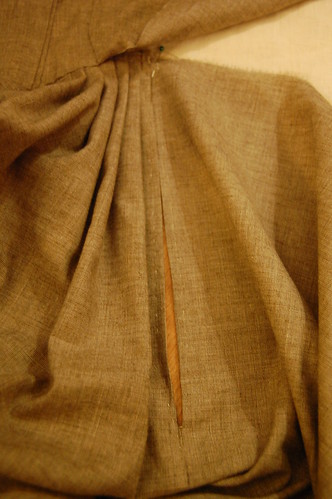
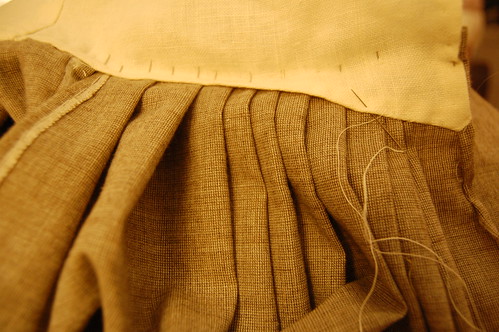
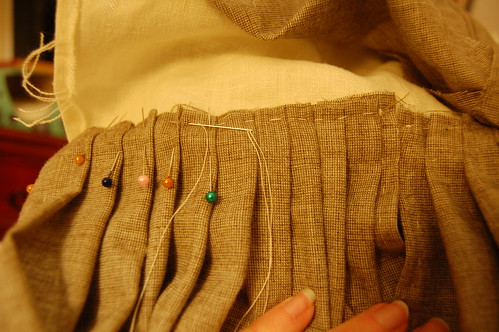
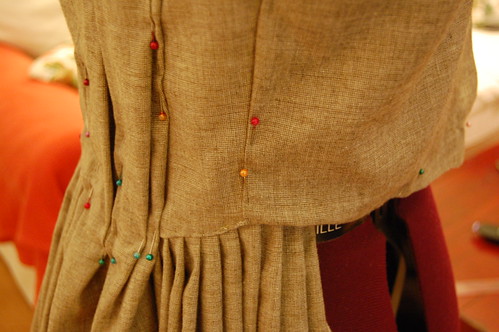
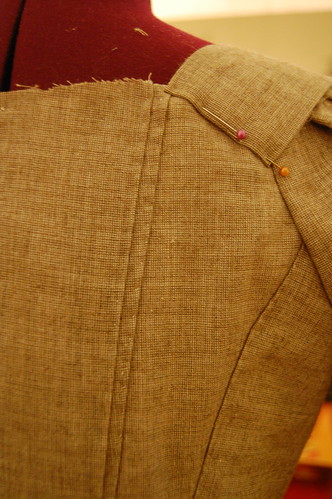
To start, I slipstitched about an inch of the robing at the back shoulder seam, to hide the turned under edge. Then I used a spaced backstitch at the back, and slipstitched about an inch up the other side of the robing.

Making a robe a l'anglaise 39

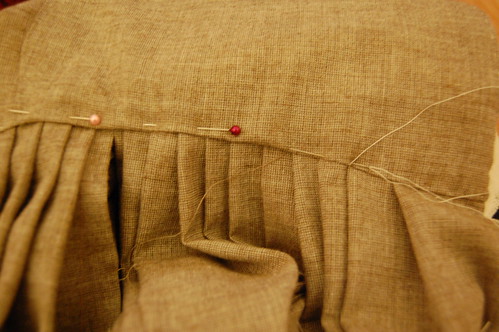
For the front of the robing, I lifted it and did a large sort of loose running stitch that would just barely hold it in place. I wanted to avoid the glued down look. It's about three-quarters of an inch in to leave place to pin the dress shut. I sewed across the middle of the bottom edge as well.

I did see a dress in a museum once where you could see between the robing and dress, as if it were only sewn at the ends. I suspect that tension would keep the robing in place if it were only sewn at the ends, but the dress in question could just as easily have become unsewn over the years!

Making a robe a l'anglaise 40 Making a robe a l'anglaise 41

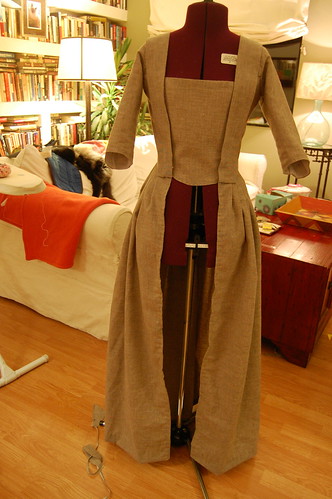
And next we have the back binding, explained more in depth here, at my francaise tutorial.

For the stomacher, I just traced my chocolate francaise stomacher. Tutorial on how I made that here!

I haven't made the petticoat yet, but I'll make it using this method from my website. Without leveling it for pocket hoops, of course. It'll be even all around.

Finished Dress! Finished Dress!

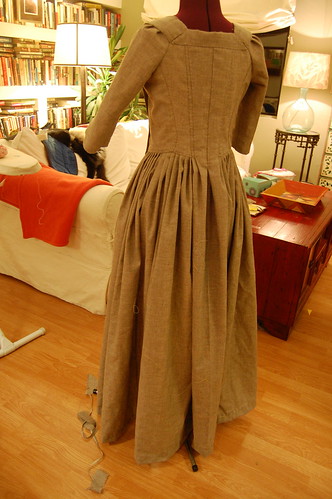
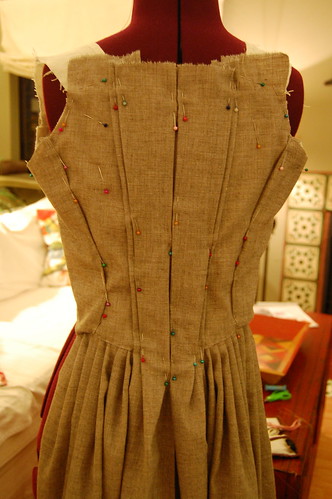
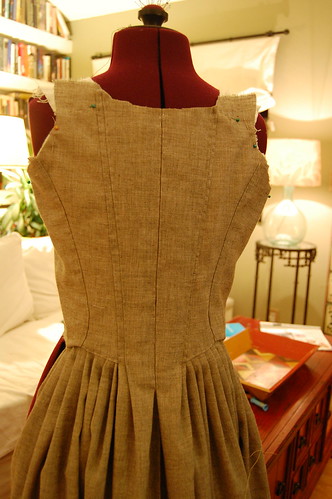
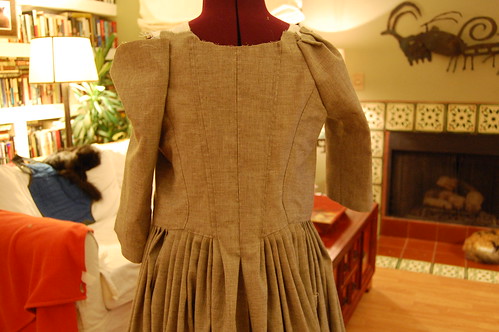
And the finished--except for a petticoat--dress!


A robe a l'anglaise--or en fourreau gown--a tutorial! Part Three, The Front

When we left off in Part Two,, the back of the dress was done. Now it's time for the front!

Making a robe a l'anglaise 20

Start by pinning your front pieces to the back. Sew with a running stitch (or, OK, machine stitch...) and leave the top nine or so inches open for pocket slits, if desired.

If you don't want pocket slits, it's probably best to sew the front skirt panels to the back skirt panels before you do the back pleating.

Making a robe a l'anglaise 21

Hem the pocket slits. If you have a nice selvage, just turn it under once. If you have messy one, it's probably best to turn it under twice.

Making a robe a l'anglaise 22

Now it's time to pleat the front of the skirt. All the pleats face the pocket slit--so the back pleats faced towards the front, and the front pleats face towards the back.

For the first pleat, line up the fabric so the pocket slit is even, and pin flat. The white you see in the picture is the lining. A little hard to tell, I know!

Making a robe a l'anglaise 23

Then pleat! The front of the bodice does dip, so what I did was to pleat it straight across, ignoring that dip. This makes it so the front of the skirt won't be longer than the rest, and it will hang straight. You'll notice that in some of the pattern drafts, fabric is folded in front. You can do this too--I just thought this would work best with my fabric.

Since the front of the skirt will need to be hemmed, when you pin it in place, be sure to turn the front edge of the skirt under.

Making a robe a l'anglaise 24

The skirt with both sides pleated--you can see how the skirt is level and pleated straight across the waist. You can also see that my dressform is very much not level!

Making a robe a l'anglaise 25 Making a robe a l'anglaise 26

Sew the pleats down. Like the back, I sewed them with a whipstitch from the back, and then with a running stitch on the front. They'll of course be covered with the bodice front!

Making a robe a l'anglaise 27

Like on the back, turn the bottom edge of the bodice over and pin into place.

Making a robe a l'anglaise 28

Continue up the front.

Making a robe a l'anglaise 29

A view on the dressform.

Making a robe a l'anglaise 30

Sew the lining into place. I used a spaced backstich on the skirt and point a main sous la rabbatre on the front.

And that's the front! In part four, we'll do the robings, and mention the sleeves and stomacher.


Tuesday, December 25, 2012

A robe a l'anglaise--or en fourreau gown--a tutorial! Part Two, Back Pleats

When we left off in part one, we had just prepared the dress for the back pleats.

Looking at pleating diagrams from the previously mentioned books is very helpful as you're doing this next step!

Making a robe a l'anglaise 11

Pin the center back of the pleats to the center back of the bodice. I found this easier to do off the form than on it.

Making a robe a l'anglaise 12

Make a narrow inverted box pleat in the center. Mine is about three-quarters of an inch deep. If you notice, the fabric is already setting itself up for the next pleat!

Making a robe a l'anglaise 13

Make the outer pleat. This should be wider at the top than the bottom. Just futz with it--there's no science to it. The size and shape of this pleat did change over the century, so it's best to look at extant dresses to see how you should shape yours. Just be sure to not make this smooth, as the next pleat sits on top of it!

Making a robe a l'anglaise 14

Make the next pleat. This should sit on top of the first, and allow a little of the first to peek through.

Making a robe a l'anglaise 15

Repeat on the other side! They don't need to be perfect. As long as they're visually similar, you're fine.

Making a robe a l'anglaise 16 Making a robe a l'anglaise 17

Now, pin the front pieces on. You don't need to match the seamlines. I wanted a slightly smaller look to the back, so I cut my front pieces a little longer. Match the front around the bottom of the armscye, fold the seam allowance under, and pin into place.

You'll notice there's a little leftover at the bottom. Tuck this underneath the back bodice as shown. This will allow you to turn up the bodice edge all the way around the front of the skirt.

Making a robe a l'anglaise 18 Making a robe a l'anglaise 19

Repeat on the other side. Then, using a spaced backstich, sew! I started at the sides and then sewed the center back. Be sure to smooth things out each time you sew--sewing does shift things a little. Trim the neckline edge.

And with that, the back of the dress--well, except for binding the neckline--is done!

As I write this, I've also sewn the sleeves, stomacher, and front skirt pieces to the back. The tutorial continues here with the front of the dress!

A robe a l'anglaise--or en fourreau gown--a tutorial! Part One, Getting Started and Skirt Pleats

One of the major styles of the 18th century was the robe a l'anglaise, English gown, fitted back gown, en forreau gown, and probably in day to day terms, just a gown. The defining characteristic of this dress is neck to hem pleats, similar to a sacque or robe a la francaise, but sewn down instead of left loose.

This is the fourth anglaise I've made. On my first three, I wasn't really happy with how the skirt pleats sat under the back pleats. My Marie Antoinette dress was supposed to have an en fourreau back, but a cutting mistake paired with frustration of the skirt pleats not sitting how I wanted them to changed that plan.

This meant that I put a lot more thought into this dress than I usually do before starting a project, and I came to the conclusion that doing the dress backwards--pleat the skirt, and then pleat the back pleats--would be easier.

This tutorial starts with a fitted lining. My fitted lining is an altered version of my stripey dress with a fitted back and separate skirt.

The dress I'll be using for the tutorial is made with absolutely lovely cotton/wool Virginia cloth from Burnley and Trowbridge. It has a stomacher front, but changing it to a closed front doesn't alter the construction--just cut the appropriate front pieces.

Here's a totally not to scale version of what my lining looks like. I recommend looking at the anglaise patterns in Costume Close-Up, Fitting and Proper, and Patterns of Fashion 1. The latter two show dresses with closed fronts, Costume Close-Up shows a gown with a stomacher.

Making a robe a l'anglaise 0

Step one--Make your lining. I failed to take a picture of my lining, but it's nearly identical to the lining for my robe a la francaise. There are two differences--the anglaise lining doesn't lace up the back, has a slight point at the back waist, and instead of darts, I used separate shoulder pieces.

Step two--Cut your back fabric. Again, I neglected to take a picture. So, you're treated to my *lovely* artwork :)

Making a robe a l'anglaise 1

Place your back pattern piece about five inches from the fold and about an inch from the top. Cut on the blue lines as shown in the drawing. The extra space above the shoulder and starting the skirt about an inch above waist will give you a little wiggle room--it's easy to trim it away later!

If you're using skirt supports--I'm not in this dress--you can angle the top skirt seam up to make room for them.

Step Three--Put your lining on your dressform. Your dressform does not need to fit. Mine is approximately my measurements and one shoulder is a good one inch higher than the other. Your lining fits--so will the dress!

Making a robe a l'anglaise 2 Making a robe a l'anglaise 3

Pin the fabric to the lining. Start by pinning it to the shoulder and side seams. You'll have about 10 inches of extra fabric. Smooth the fabric towards the middle, and pin in random places on the back to keep it smooth.

Making a robe a l'anglaise 4

Once you've smoothed the back, pin the excess fabric out. You're going to ignore this for now.

Making a robe a l'anglaise 5

Cut! This part is, admittedly, a little frightening, but doing it this way means you've cut in the right place. Cut, using your lining as a guide, about one quarter to one half an inch below the lining. Once you get past the curved part, taper it so it's about the same length as the lining. This allows you to turn up the edge to cover the pleats. This is the method used on the gown in Costume Close-Up

Making a robe a l'anglaise 6

And here it is--cut on both sides!

Making a robe a l'anglaise 7 Making a robe a l'anglaise 8

The next step is to pleat the skirt to the linen lining. Pin the outer fabric out of the way for this. I found it easier to do this off the dressform. As you can see, we're still ignoring that ten inches of fabric in the center.

Next, sew the pleats to the lining. Sorry, I don't have pictures, but it is easy. I sewed the pleats down in two places--a running stitch at the top of the pleats to hold them in place, and I whipstitched them to the bottom of the lining.

Making a robe a l'anglaise 9

Put the dress back on the dressform, smooth the outer fabric over the pleats, and fold up the edge. Pin in place, and sew. Stop stitching about one inch from the side seam. This is important later! I used a spaced backstitch for this. I did this directly on the form.

Making a robe a l'anglaise 10

Repeat! And now it's time to loosen the fabric you have in the back. Be sure to mark the center--pins are probably the easiest way to do it!

This tutorial will now continue in part two...