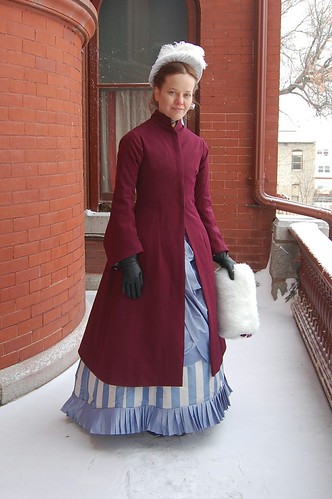
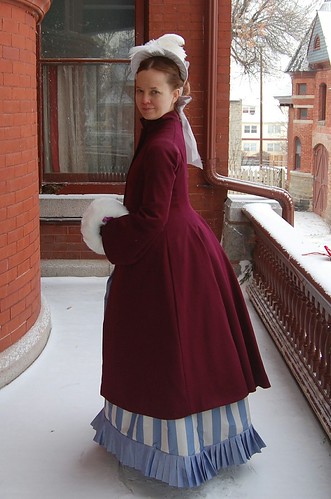
In early November, my friend Sarah posted about a costumed tour of the Original Governor's Mansion in Montana, and who wants to come? Well, that would be me! Somehow, the stars aligned and it all worked out. And, since there would likely be snow, I, of course, needed a coat to wear with the bustle dress I was making for the event.
This ended up being a remarkably good decision, as one of the days I was in Montana, it was colder than it was in Antarctica. I don't own a coat in the real world, so ended up wearing this one all weekend! It's quite a toasty coat :)
I fell in love with
this coat from the Met and used it as my inspiration.


The coat is made of three layers--lightweight wool from
Burnley and Trowbridge, cotton flannel from my local Hancock, and 10mm silk habotai from
Dharma Trading.
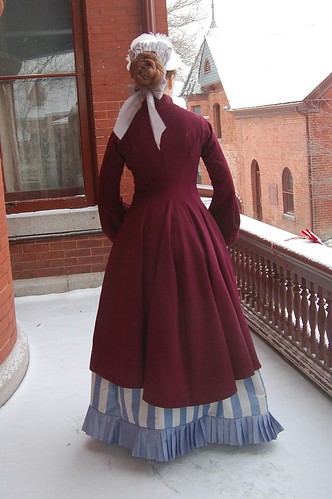
Construction is quite straightforward. I flatlined the wool with the cotton flannel, sewed it like any other bodice--right sides to right sides, sew the darts, set in the sleeves, and set in the collar (which is just a straight strip of fabric folded over with a little dart at the center back to give it a curve). Then I made an identical coat in the silk habotai (except without a collar), and put it in the coat, wrong side to wrong side.
I then folded the neck edge of the silk down and whipstitched it to the raw edge of the neckline/collar. Then I hemmed the sleeves by trimming the cotton flannel and folding the wool over the silk and cotton and used a tiny whipstitch that caught just the lining. The bottom hem came next--I hemmed the wool layer and silk layers separately. The wool is hemmed with a a bias facing sewn by machine and a herringbone stitch that just catches the cotton flannel so doesn't show through (like the sleeve, I trimmed the cotton flannel away at the hem fold). The lining is hemmed by machine. I then sewed a placket on. It's just a straight strip of fabric a few inches wide. I sewed it just to the wool, trimmed away excess lining, pressed it into place, and used whipstitches to hold it at the collar and hem, and herringbone down the middle. The coat then closes with hooks and eyes.
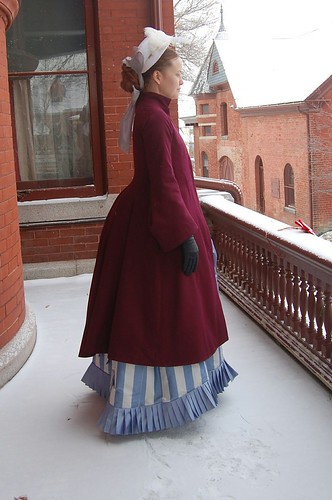

And I of course needed a new muff! A very last minute project, I had been thinking of one, and then Jen Thompson made
a faux fur muff which was just incredibly adorable making me want one even more, and Amazon Prime to the rescue, I made one the day before my trip. I used my
18c muff base and
my tutorial to make the cover. Really. I used the tutorial. I forgot the easy way I handled the channels on it :)
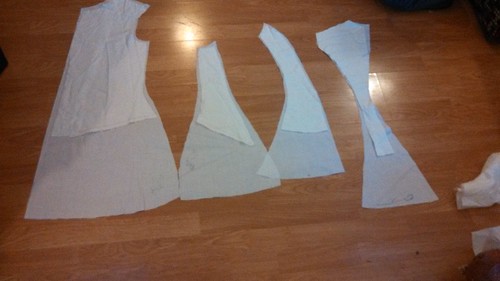
As for the pattern, I used my standard bustle base pattern
which is based on an original I made many years ago and can be seen on my website, here. All I did was add a little ease and lengthen and widen the pieces. Obviously this is shorter than the finished coat. I cut the lining first, continuing to extend the pieces, pinned it together, fixed the hem, and then cut the coat.
In the picture, my bodice pattern pieces are laid on top of the coat pattern pieces. As you can see, except for the center back piece at the waist, which I narrowed during fitting, each piece is just slightly larger than the bodice piece.
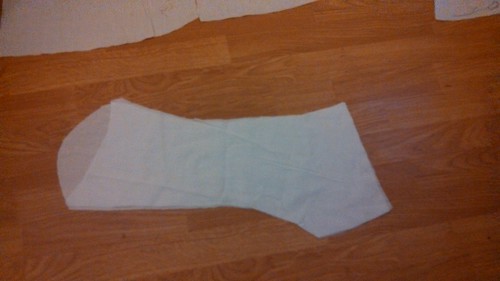
And the sleeve pattern. My lower sleeve pattern piece on my base pattern is slightly narrower than the upper sleeve, so I just made them the same width and shaped the bottom.