
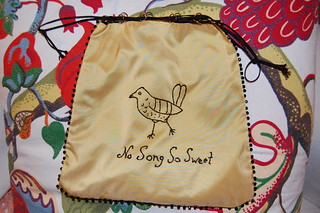
With Costume College looming, I thought it was time to turn my embroidered bird and motto from my transferring embroidery tutorial into a bag. It was a very quick little project with a very satisfying result!
The bag is very simple--it's lined and sewn with a French seam.

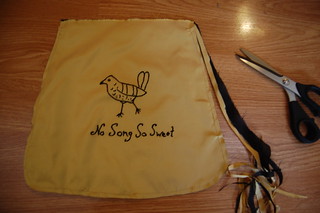
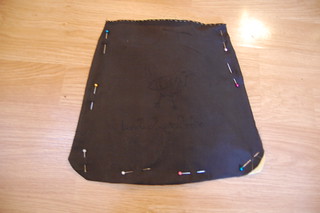
First, cut four layers of fabric--two yellow silk taffeta (including the embroidered piece) for the outside, and two black China silk for the lining. Then layer them as shown: yellow silk, black silk, black silk, yellow silk.
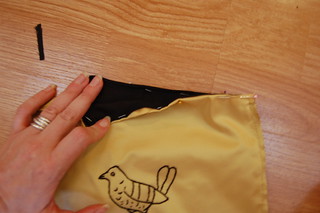
Next, sew the outside seam. Start the seam about half an inch from the top edge, and end about half an inch from the top edge. This is so you can turn the top edge in towards itself for the hem. Then trim the seam. Turn the top edge seam allowances towards each other, and sew shut to hem. I used a running stitch. Press the seams.
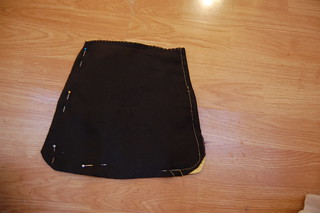
Turn the bag inside out, pin, and sew the second part of the French seam. Hopefully you didn't miss a part of the lining silk like I did, but if you did, just make sure you catch it in the second part of the seam :)
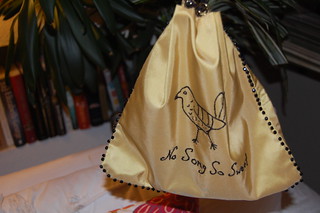
Now, turn the bag right side out. I then added metal rings to the top edge to run the drawstrings through. You could use eyelets or make a channel for the drawstrings too. To finish, I added a row of black glass beads to to the outside.
Even sewing by hand, this bag only took about two hours. Not including the embroidery, of course! Though that only took about an hour as well. It's nice to have quick projects sometimes, isn't it?
No comments:
Post a Comment